How Can We Help?
iPad Device Setup
What you will need –
- Your iPad charger
- Student Account Worksheet
- you will need these credentials in order to set up your iPad to be used for class
Follow the tabs on the left, step by step, in order to activate your iPad.

Turn on your iPad by pressing the Power Button above your camera lense

Tap the home button at the bottom of your iPad
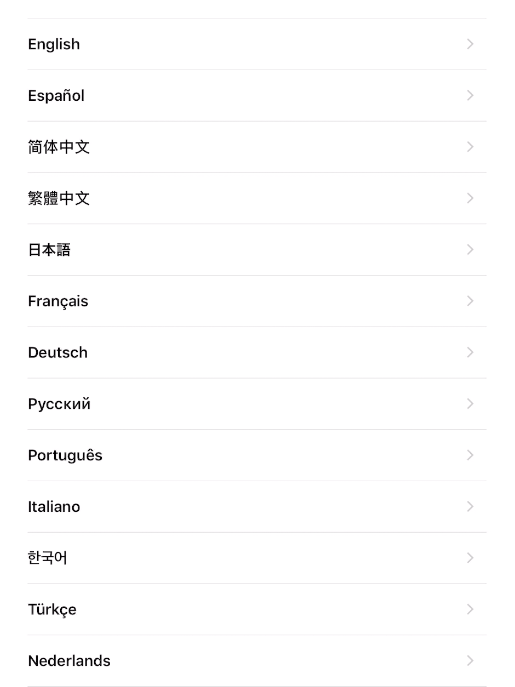
Select “English” at the top
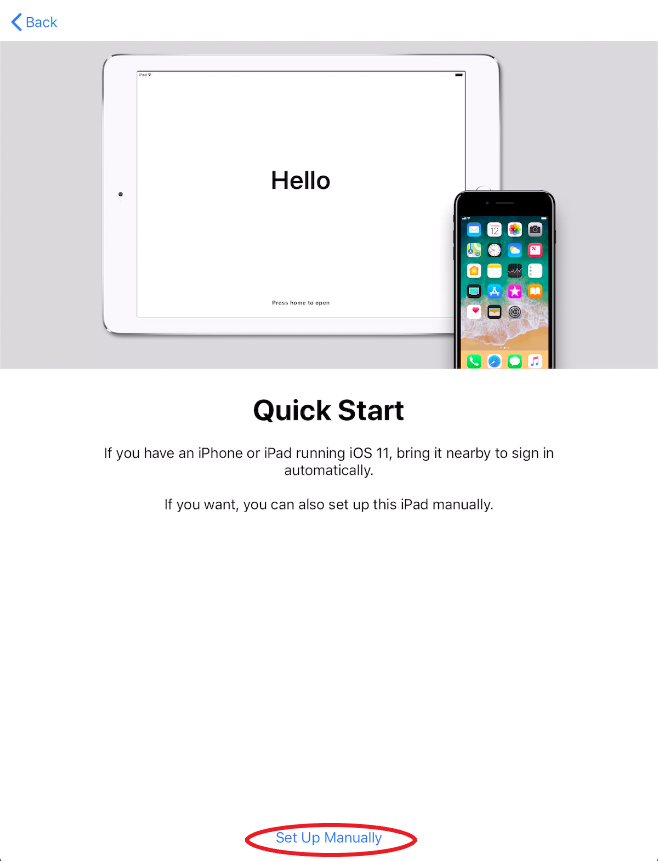
Tap “Set Up Manually” at the bottom of the screen
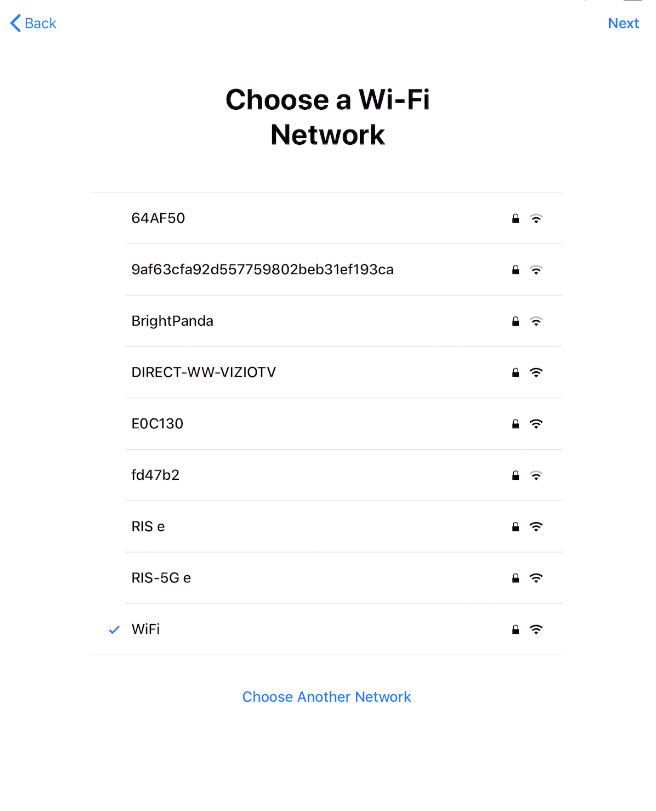
Select your WIFI network from the list, if you do not see it scroll down
Enter the password for your network
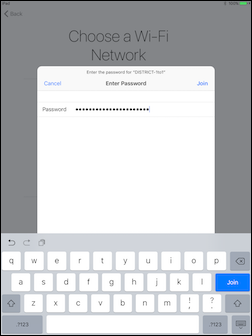
Tap “Join” once you’re ready to connect.
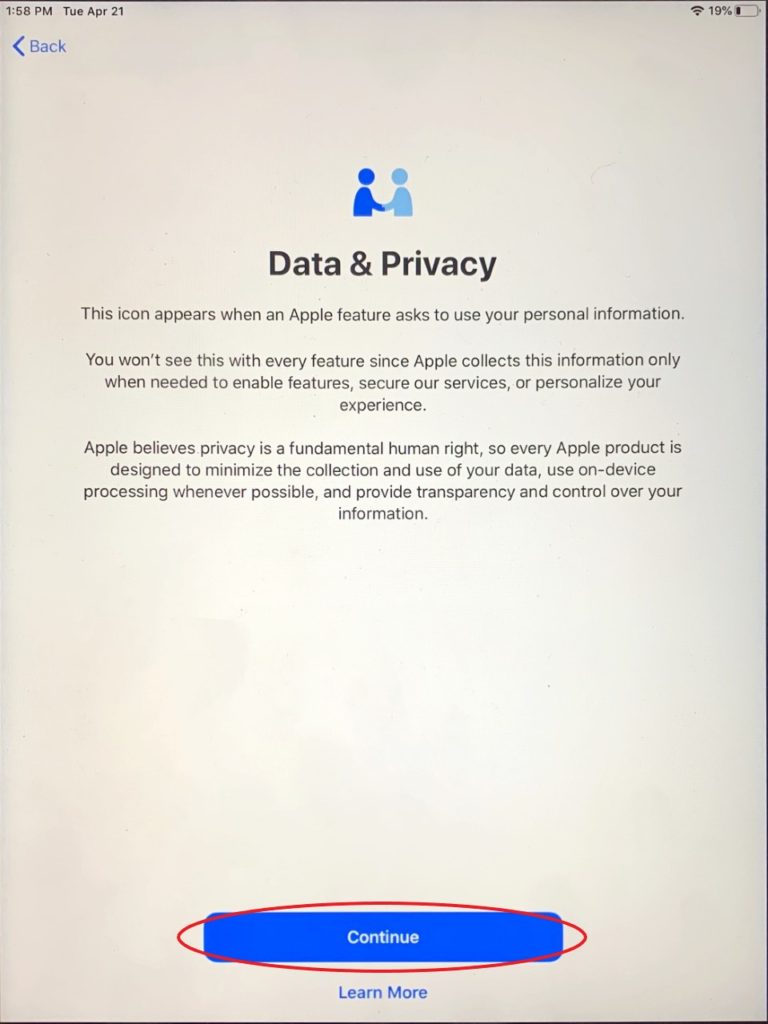
Tap “Continue” at the bottom
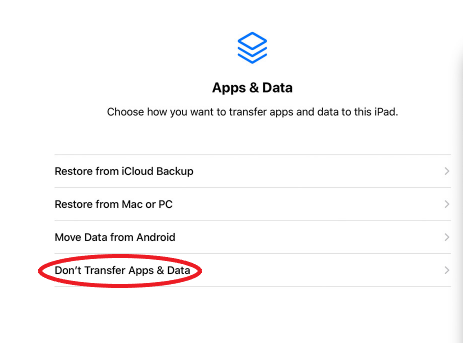
On the Apps Data screen tap “Don’t Transfer Apps & Data”
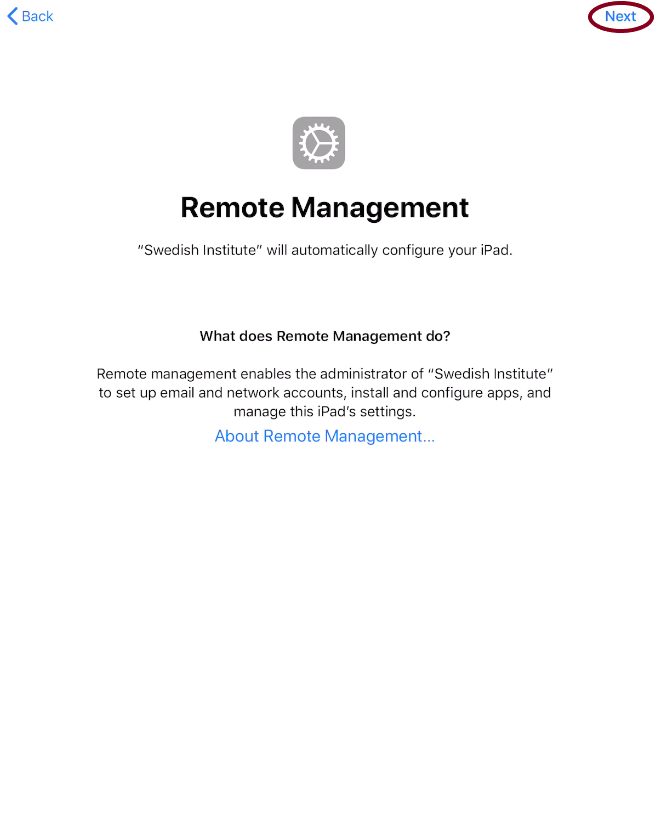
On the Remote Management screen tap “Next” in the top right corner
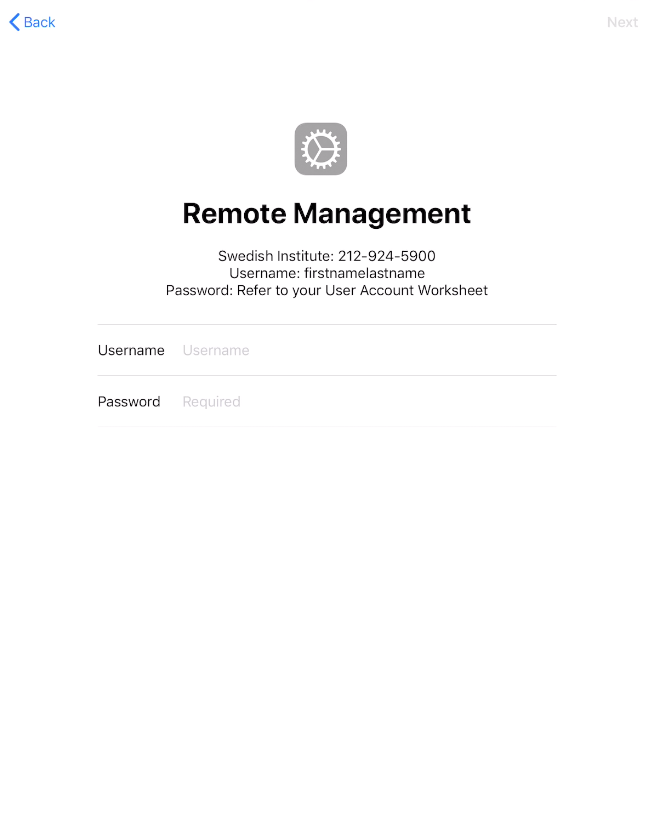
Enter your username and password from where it says “Topschool” on your Student Account Worksheet. Then, tap “Next”
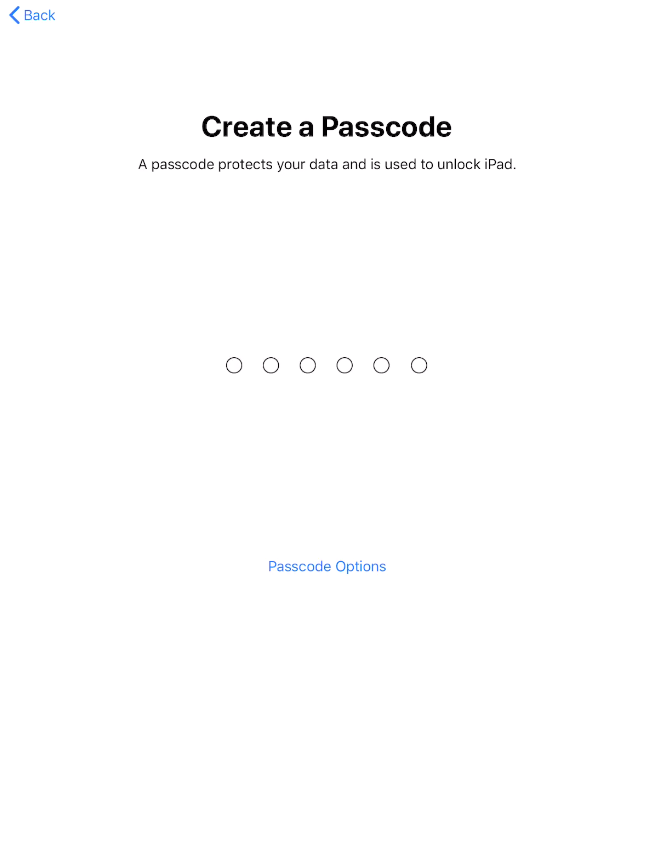
Enter a passcode that you will remember. If the one you chose isn’t accepted, try a more complex passcode.
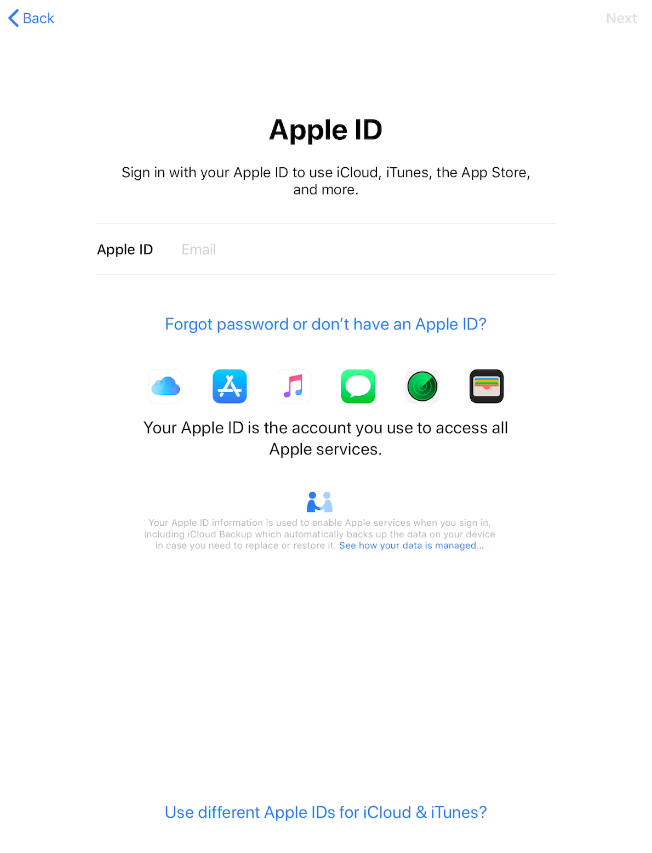
Login to your Apple ID – Your login credentials are on your Student Account Worksheet
Depending on your iPad, you may or may not have this screen. If you do not see this screen, then skip this step. 2-Factor authentication may sound useful, but more often than not, enabling it causes more harm than good. What this means is that if you ever change your phone number or misplace/break your phone, that you could potentially be locked out of your account for 2-4 weeks. Therefore, do not turn on 2-Factor Authentication. Once this is turned on, it is irreversible.
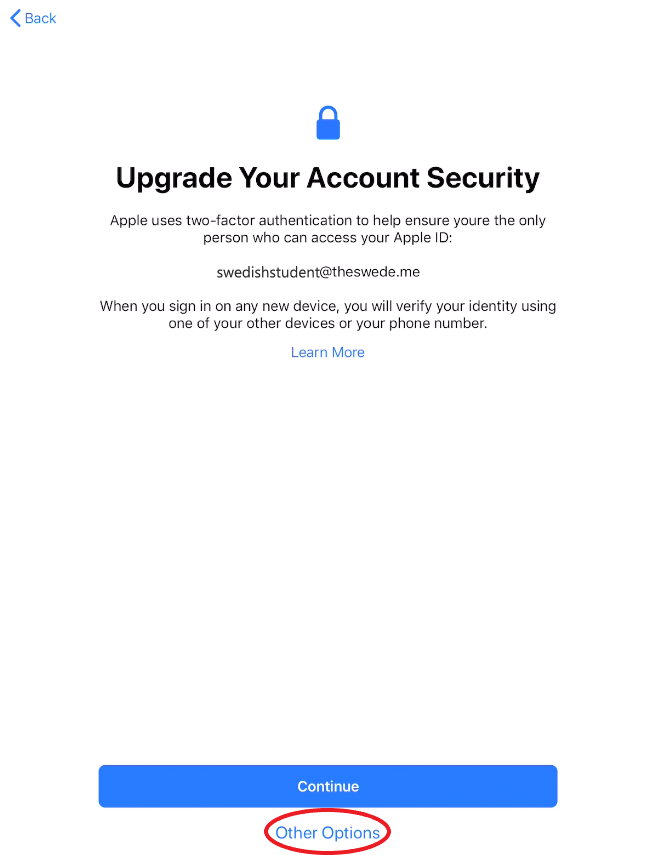
Tap “Other Options” at the bottom
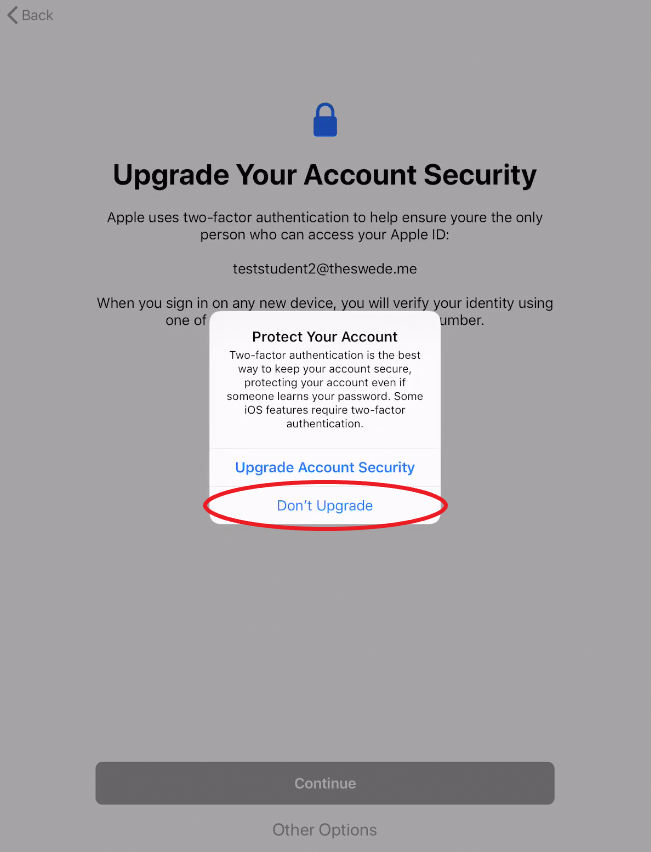
Tap “Don’t Upgrade”
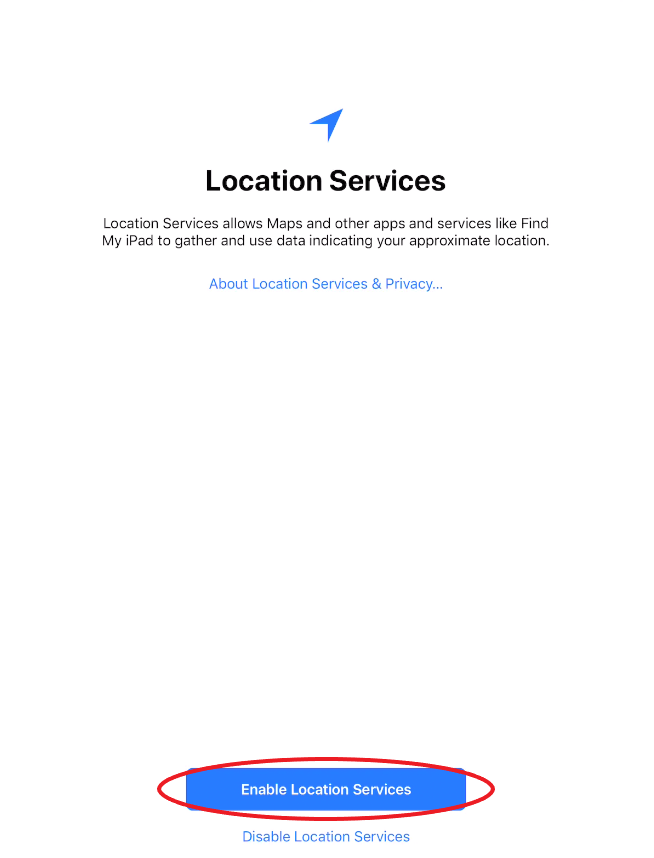
Tap “Enable Location Services” at the bottom of the screen
Email Setup + Reviewing Apple ID
Email Setup
Once you are on your home screen, you’ll most likely get a popup saying “Enter the Google password for …” Your email is hosted by Google, this means that you can always access your school email at gmail.com or on the Gmail application as well!
Since you aren’t yet signed into your email, let’s do that now. If the popup continues to come up, keep hitting cancel until we’re done signing in.
- Tap “Settings” on the popup
- On the right-hand side, tap your school email (ending in @theswede.me)
- Tap “Re-enter Password“
- Hit “Continue” and your email should already be filled in
- Tap “Next” and enter your password from your accounts worksheet.
- Tap “Next” one last time when you’re done entering your password
Now your email is ready to go! You can access it by tapping the Mail application on your home screen.
Review your Apple ID
You should also see a popup saying that you need to review your Apple ID. If you see this, just tap “Review” and agree to the terms and conditions. Enter your address if it isn’t already populated with the school’s address, and hit next.
If you require any further assistance please do not hesitate to reach out to us at helpdesk@swedishinstitute.edu.